Are you considering artificial grass installation to transform your outdoor space? Whether you’re a seasoned DIY enthusiast or hiring professionals for the job, knowing the right tips and techniques can make all the difference in achieving a flawless result. In this complete guide, we’ll share invaluable tips and techniques to ensure a successful artificial grass installation that will enhance the beauty and functionality of your lawn.
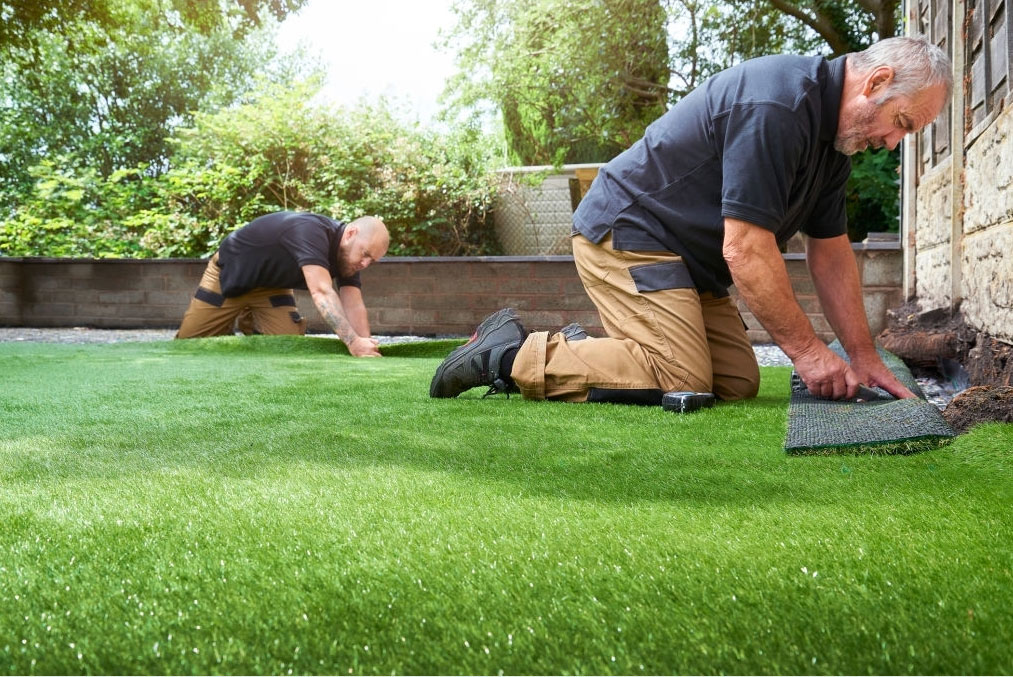
Step 1: Planning and Preparation
Before diving into the installation process, meticulous planning and preparation are essential for a successful artificial grass project. Begin by measuring the area where you intend to install the turf, taking note of any obstacles or irregularities. Clear the space of debris and ensure proper drainage to prevent water accumulation beneath the synthetic surface.
First, you’ll need to determine how much Smart Turf artificial turf you’ll need. How to Calculate Artificial Turf Requirements for Your Project.
Tools Needed
Tape Measure
Sharp Knife
Spade or shovel
Hammer
Bristle Broom/Grass Rake/Motorised power brush
Gloves
Pins/nails
Self-adhesive Joining Tapeor Joining Tape plus Joining Adhesive
Aroller or vibrating plate to compact the sand (both can be hired)
Weed block cloth –This is optional, but we highly recommend it for outdoor installation.
Shockpad – This is optional,especially recommended for concrete surfaces.
Step 2:Base Preparation
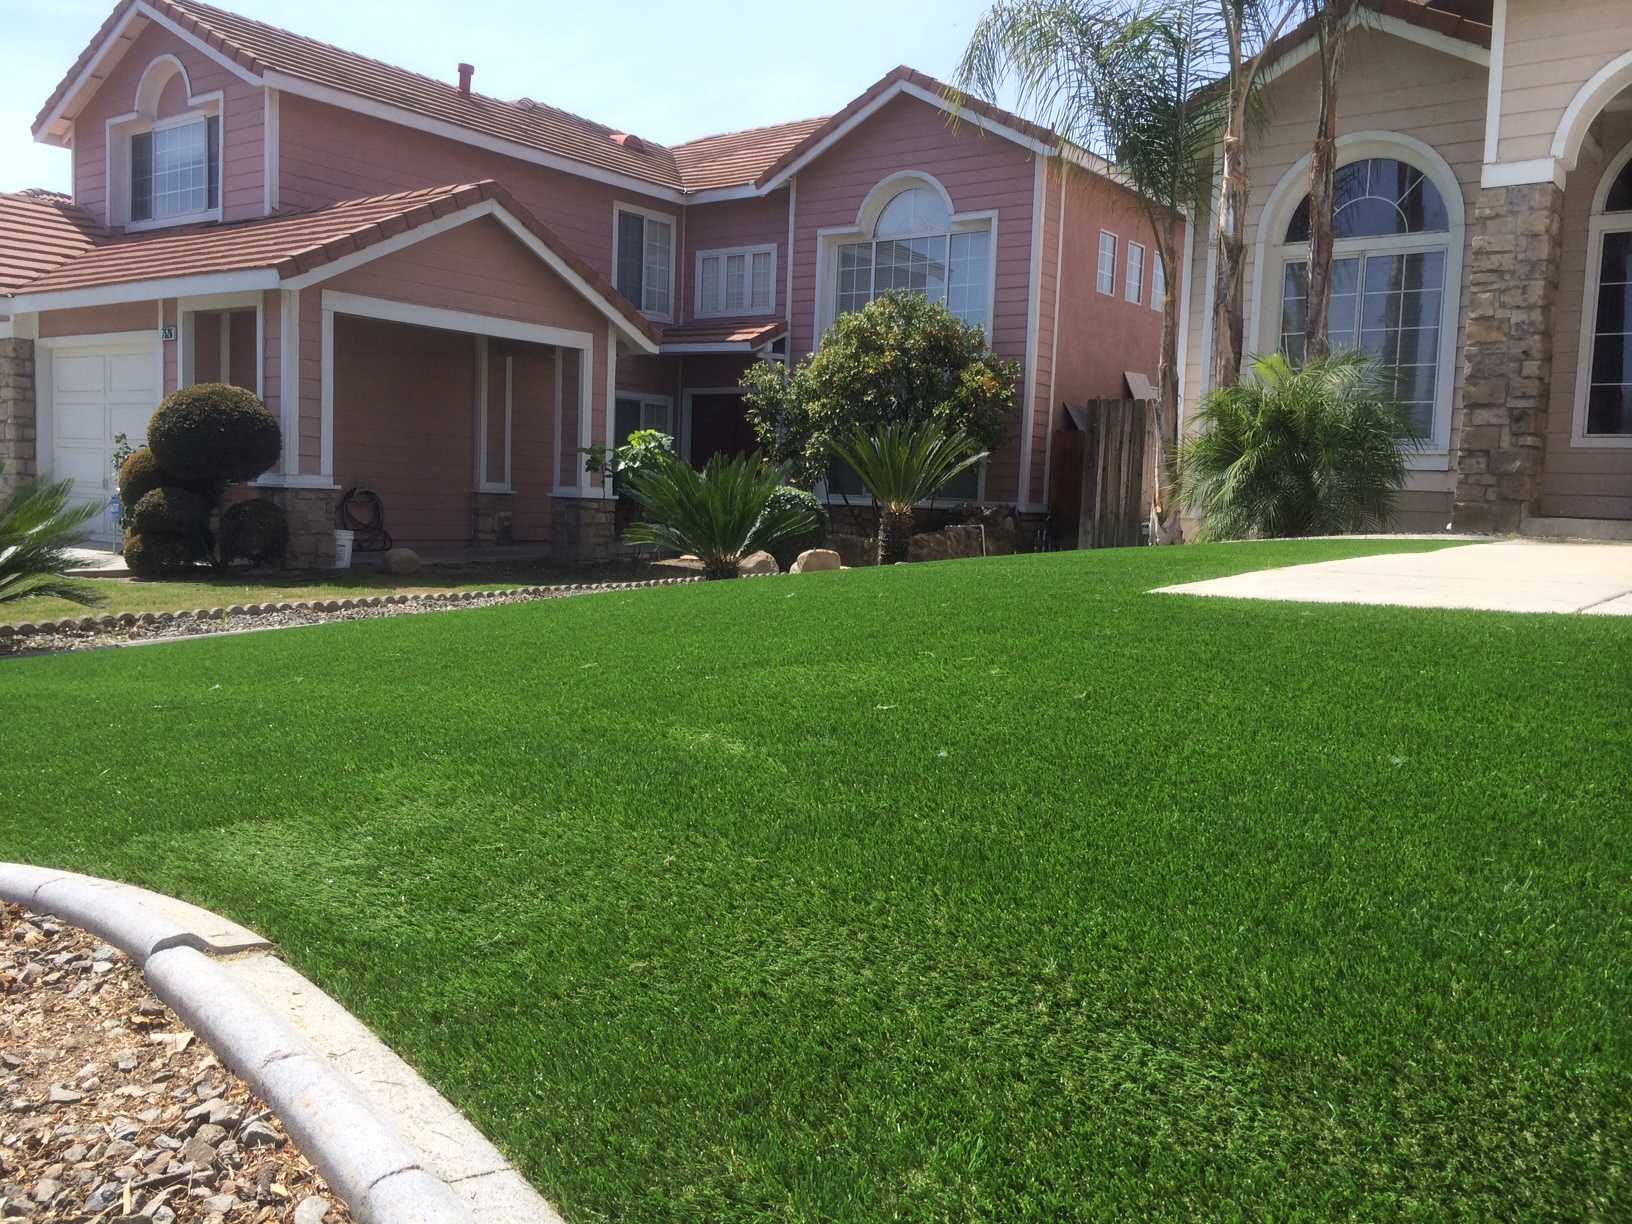
Artificial grass can be installed on a variety of different surfaces. Here we will focus on the ground preparations for installing artificial grass on soil and concrete.Ensure that the ground is level and adequately compacted to provide a stable base for the artificial grass. Use a compactor to achieve a firm and even surface.
Step 3: Arrange Synthetic Turf
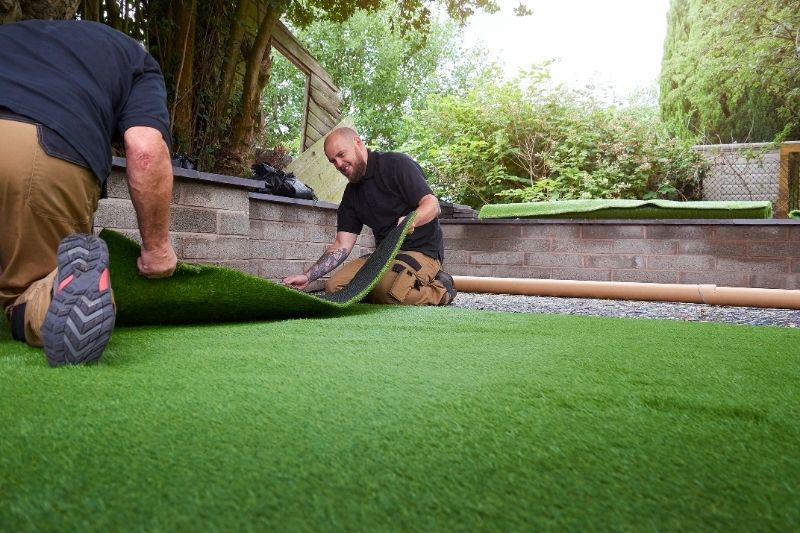
Measure the project area and plan the layout thoughtfully to minimize seams in the turf. Gently unroll the synthetic grass over the prepared base—avoid dragging it. If there are wrinkles, allow the turf to acclimate in the sunlight. Lay the turf in the same direction as the natural grass blades. Be sure to lay all panels in the same direction.
Step 4:Trim to Fit
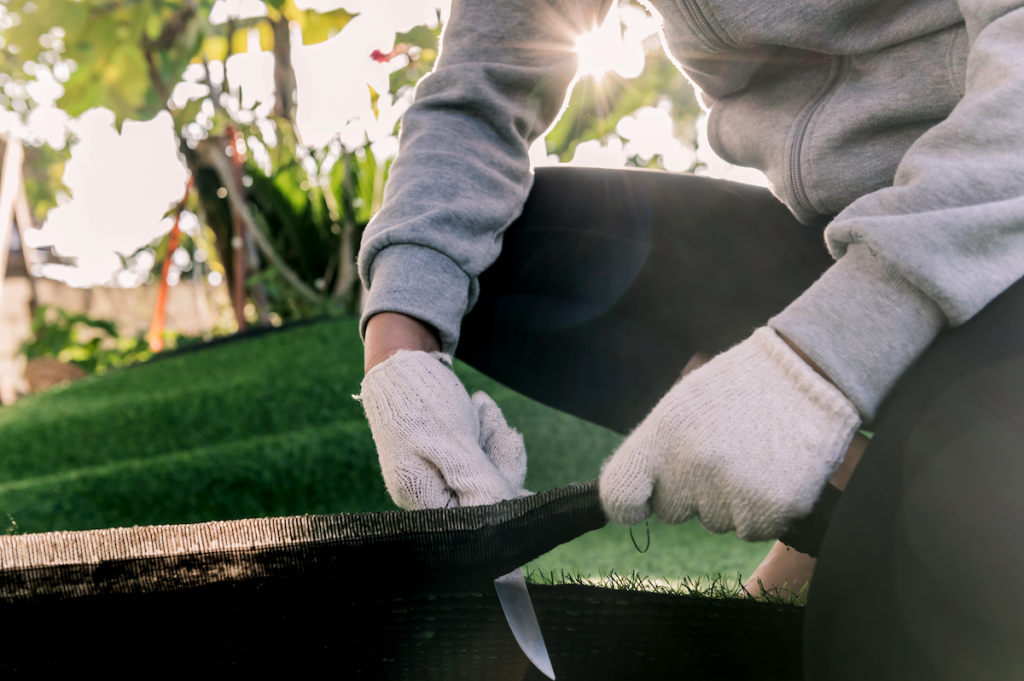
Customize the artificial grass to your landscape, whether it’s a square or a winding path bordered by rocks. The preferred method involves laying out the grass, marking where cuts will be made from the top. You’ll need two tools: a Long Pile Carpet Cutter and a Carpet knife. Cut from the back side of the synthetic turf to follow the stitch rows.
Step 5:Seam Artificial Grass
For joining adjacent sheets of grass, add self-adhesive artificial grass seam tape to the back. If available, use the seam tape’s center line to position it equally between the two sheets. If the tape does not have a center line, estimate half of the tape’s width when applying it to the back of the grass.
Step 6:Tack Down Grass Perimeter
Press the excess artificial grass into the borders with the putty knife. Tack down the edges with the turf staples every 6 inches on the outside and every 24 inches on inside seams.
Step 7:Infill Artificial Grass
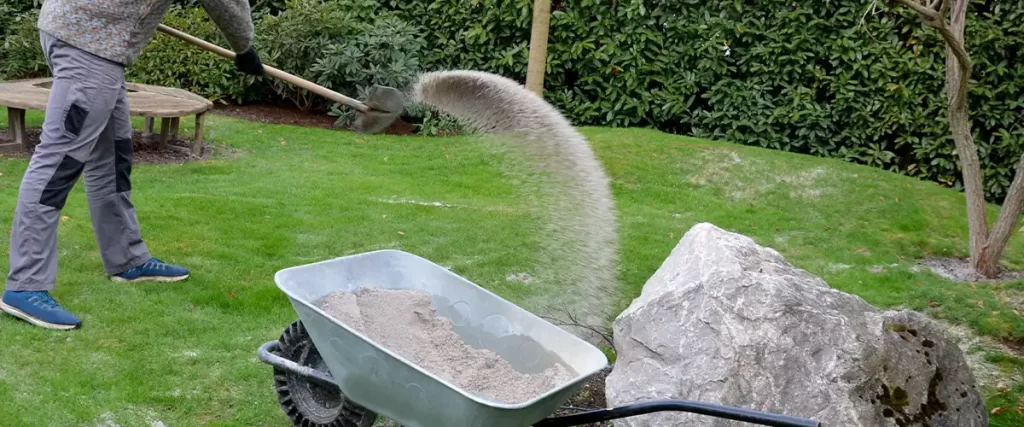
Sand infill ensures your grass is weighed down and the blades remain standing. This protects your lawn and extends its lifespan.Spread sand evenly over the surface and use a stiff bristle brush to work the sand against the fibres.
With the right tips and techniques, artificial grass installation can be a straightforward and rewarding project that transforms your outdoor space. By following this ultimate guide, you’ll be well-equipped to tackle the installation process with confidence and achieve professional results that enhance the beauty and functionality of your lawn. Say goodbye to the hassle of mowing and watering, and hello to a vibrant and low-maintenance lawn with artificial grass installation.


