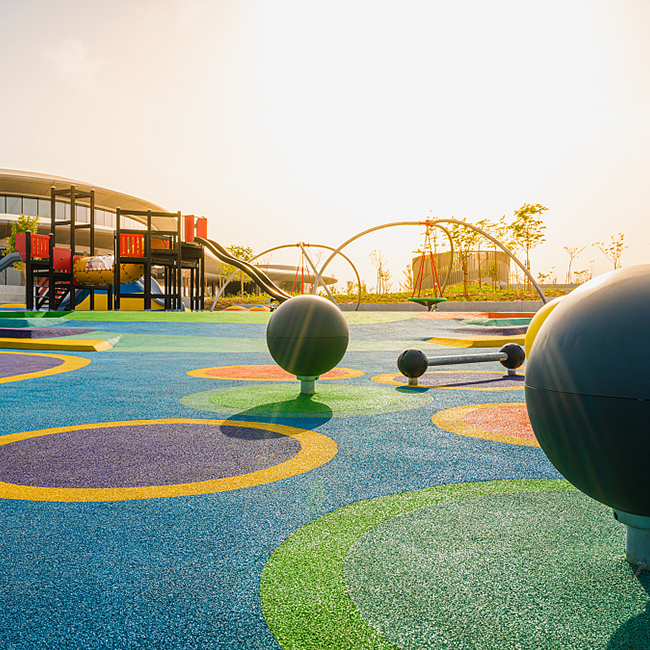
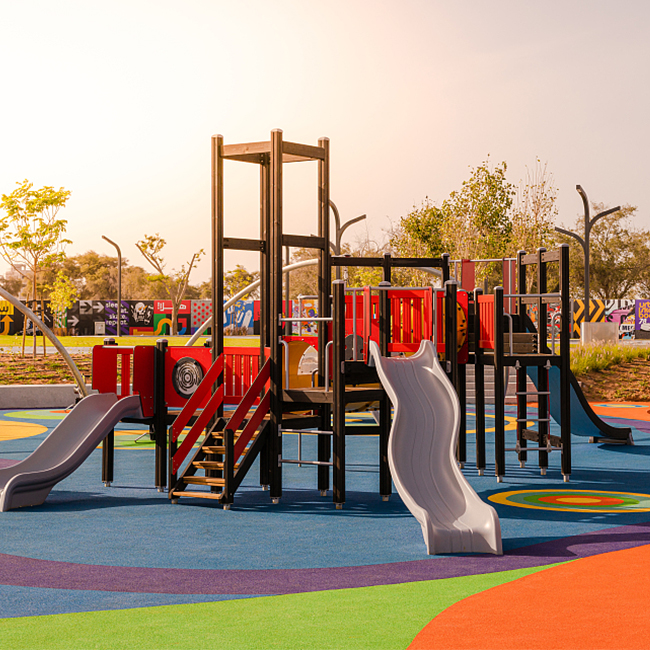
Rubber playground flooring is a crucial component in creating safe and enjoyable play areas for children. The proper installation and regular maintenance of this flooring not only enhance its longevity but also contribute significantly to the safety of the play space. In this comprehensive guide,we will walk you through the step-by-step process of installing rubber playground flooring and provide essential tips for its ongoing maintenance.
REQUIRED TOOLS
1.Crete Angle mixer
2.Tarpaulin for use under the mixer and binder buckets
3.Wheelbarrow
4.Trowels – thick sided wooden trowels or polyurethane foam trowels for tamping and stainless steel pointed trowels for finishing
Screed bar
5.Height guides – use the required height to ensure the correct surface thickness
6.Buckets with litre indicators – for measuring the binder
7.Disposable gloves + Stanley knife blades or equivalent
8.Water mixed with fairy liquid for trowel lubricant
9.Metal Roller
INSTALLATION GUIDE
Please note: we always suggest that customers familiarise themselves with the required materials, equipment and the wet pour installation guide before installing the product.
Step 1:
Ensure the surface to be covered with rubber flooring is clean, level, and free of debris. Take the time to sweep, rake and smooth.Ensure for a level surface and a suitable edging material to work up to.
Step 2:
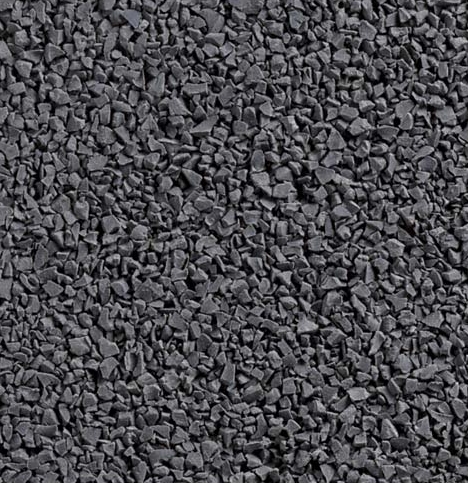
An underlayer of black SBR rubber granules is recommended to minimize fall injuries. Thickness to be defined according to the fall height.
Step 3:
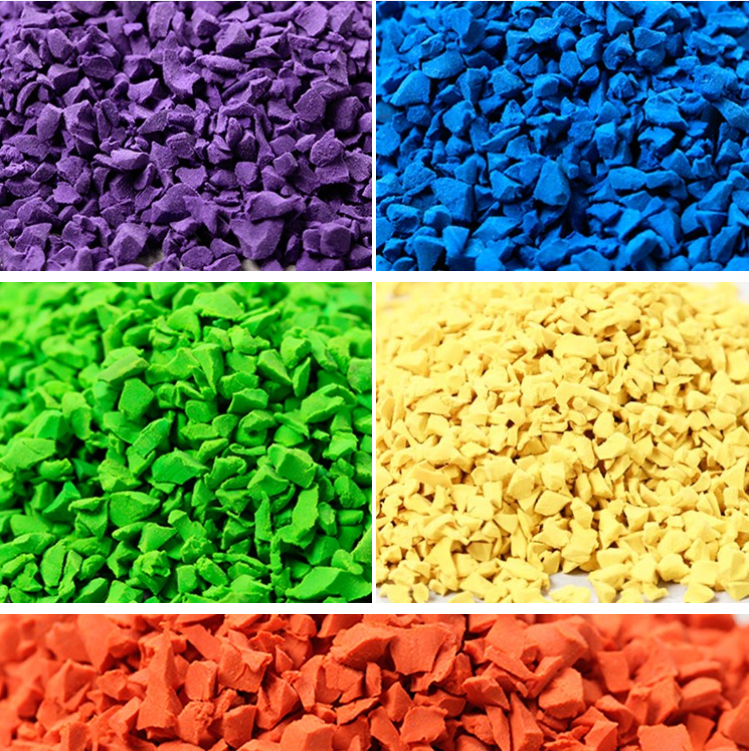
Mix the epdm rubber granules and binder in bucket using the binder ratio of 1:5 to the top layer and 1:8 for bottom SBR granules layer with binder.Mix for 3 to 5 minutes with a shovel until all granules are coated with binder.Mixing at this stage should be consistent and uniform.The outside temperature is very important for a successful installation.
The temperature must be between 10 and 28 degrees Celsius during installation and for the next 24 hours.
Step 4:
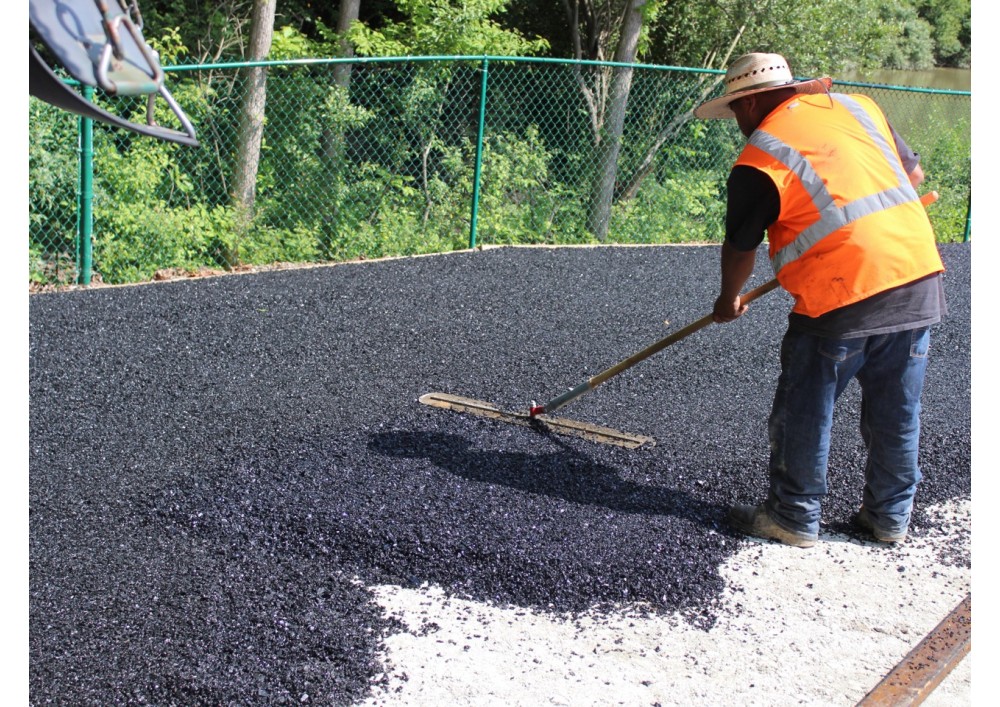
Empty your mix into wheelbarrow and pour on the primed area and spread evenly. Use you tamping trowel to compact all the loose particles of rubber mixture into a tight fit.
Step 5:
For Top surface, use pointed steel trowel lightly lubricated. If any porous spots are found at this time they can be filled by adding more mixture as necessary. Keep your trowel lubricated to avoid re-separation of rubber particles.
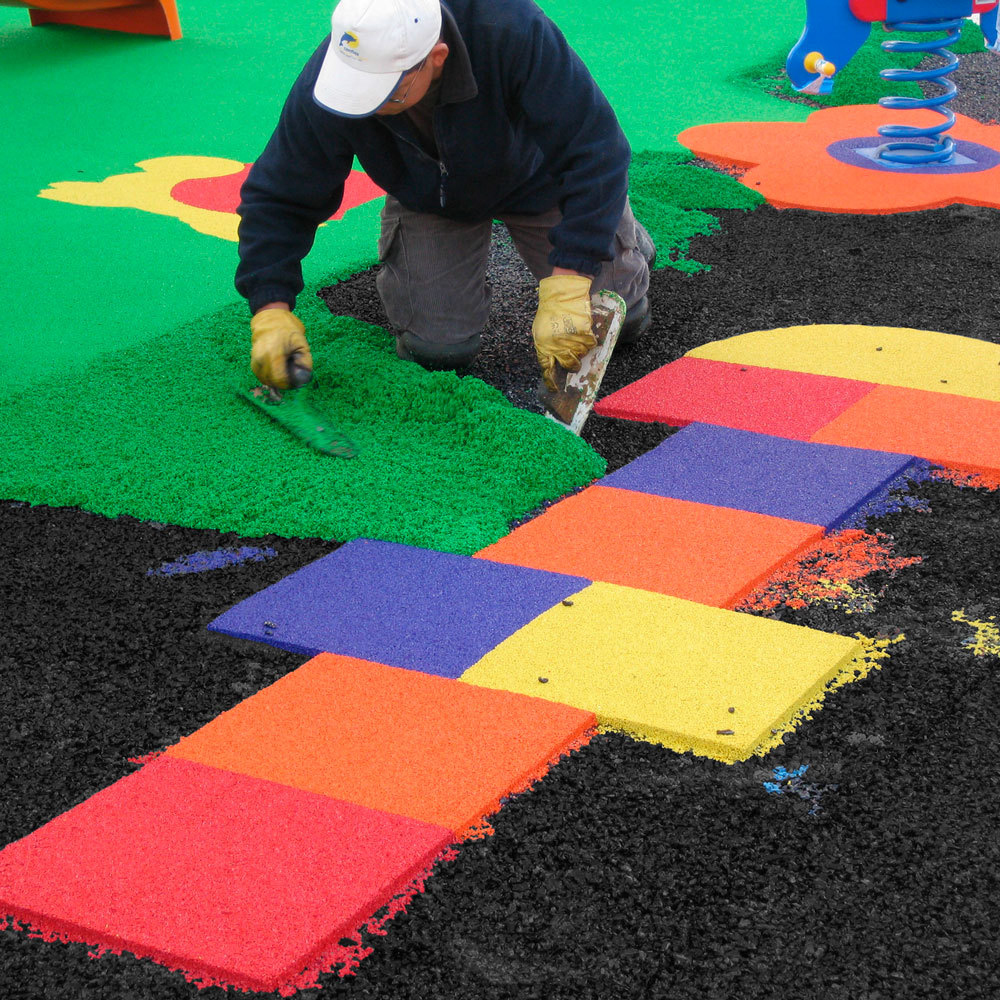
Step 6:
Moisten your trowel constantly during the smoothing period, never placing the granules further than the distance of one arm at a time. Repeat the process to complete the surface.
A drying period of 48 to 72 hours is recommended, and you must wait until the surface is no longer sticky before walking on it.
Tips for Maintaining Rubber Playground Flooring:
1.Regular Cleaning:
Ensure there are no sharp objects, such as gravel or sharp toys, on the playground surface to prevent scratching or puncturing the rubber flooring.
2.Regular Inspections:
Conduct regular inspections of the rubber flooring’s edges and seams to ensure they remain tightly sealed. Repair any damaged or loose flooring to prevent further issues.
By following these guidelines, you can ensure that your rubber playground flooring is installed correctly and well-maintained, providing a safe and durable play environment for children.Proper installation and consistent upkeep not only contribute to the longevity of the flooring but also guarantee a secure space for children to enjoy their playtime.